Pages

Showing posts with label Professional Project. Show all posts

Monday, 6 December 2010

Ceramics final submissions

For my final designs, I decided to really simplify things down, working in panels of colour/texture/plain porcelain, in the hope this simplicity would demonstrate a professional level of work, rather than a rough and ready fixed together research piece of ceramics.

Following my sketched out designs for my final pieces, this time round I found I was struggling with handling the clay. I was talking to Andy about this following the firing of my pieces and he explained how porcelain is a really difficult clay to handle, as its qualities make it very delicate. If it's stretched or creased at all, the clays structure has a memory which reverts back to this and can result in it easily cracking or warping at any time between the raw dry clay pre-biscuit firing, to post glaze-firing. It's so interesting learning about the qualities and 'characteristics' of the materials I'm using, as well as the pieces I can produce with them.

A lot of the porcelain i rolled out ended up in the scraps bucket for porcelain slip, partly for being rolled out too thin and I'm not sure if the weather had anything to do with drying the clay out too quickly as well... annoying, but at least it will be recycled! 

I played around with some more handles, this time with porcelain rather than the porcelain and paper pulp I had used before. They felt a little more sturdy and after being wary of how delicate the clay is I think I managed it quite well. I tried out varying shapes and styles of handle, also managed a much cleaner finish this time compared to the research pieces, a vast improvement!  

With left over bits of porcelain, I started playing around and manipulating the clay, testing the idea of its handling qualities. With the nature of these pieces, I had a copper oxide in mind to test out the black/green finish of the oxide.

My selection of potential final pieces, pre-biscuit fire...

After the biscuit fire, there were a few cracks starting to show, Andy helped me attempt to secure a few by filling some of the gaps with thickened glaze.

Also the ceramics quite obviously warped in this firing, which if I'm honest I don't really mind; they're still functional objects and still look absolutely fine, if anything, it just adds an extra touch to the handmade essence of the pieces.

My final collection covered in latex panels, spots and patches to help protect the plain porcelain areas for a cleaner finish.

All covered in oxide and glaze ready for their final fire!

And a last minute fatality :( The handle fell off as I was cleaning the glaze off the bottom, which made me drop it on its side... Damn! I still stuck it in for the final firing, and Andy said he'd attempt to fix it together for me.
The final firing .......!!

The pieces warped a little more on their second glaze, resulting in some quirky, not-so-circular shapes! I really love this quality to the clay as they give a much more hand made feel than a generic 'mug' or pot shape.

My little experimental pieces turned out better than I hoped, the touch of green shining through the black copper oxide is really beautiful, I can't wait to play around with this later on in my work when I return to ceramics.

Although the final pieces turned out on the whole a great success, they aren't flawless as there's a few cracks visible, so they still need to be handled with care.

Andy's attempts of saving my broken big mug were pretty good! It's obviously not usable, but the style and effect intended can still be appreciated.

My full fired pieces, round 2...

And my final 6 pieces:
I'm so so happy with my final selection!!! I'm surprised and pleased at how well the repetition of simple patterns, panels and textures really bring the ceramics together as a final selection, rather than just 'a group of work' as I found with my research pieces. I think the work really looks as though it has progressed as well; in a constructive sense of how I have handled the materials and produced the ceramics pieces, including making and attaching the handles, which I managed a lot better the second time around! Also in the design and style sense I think there is an obvious visual improvement, particularly with the cobalt carbonate pieces, (blue selection above), where I have taken on board a professional approach and feel to my work, but still ensured I have delivered a hand finished look.

Monday, 29 November 2010

Ceramics - glazed & fired!

Here's the results of my ceramics after their oxides, glazes and second firing... I've got mixed feelings about the turn out, some are looking amazing and some not so brilliant, but all part of the learning curve...
All my sample pieces - not many colours came out too well ...
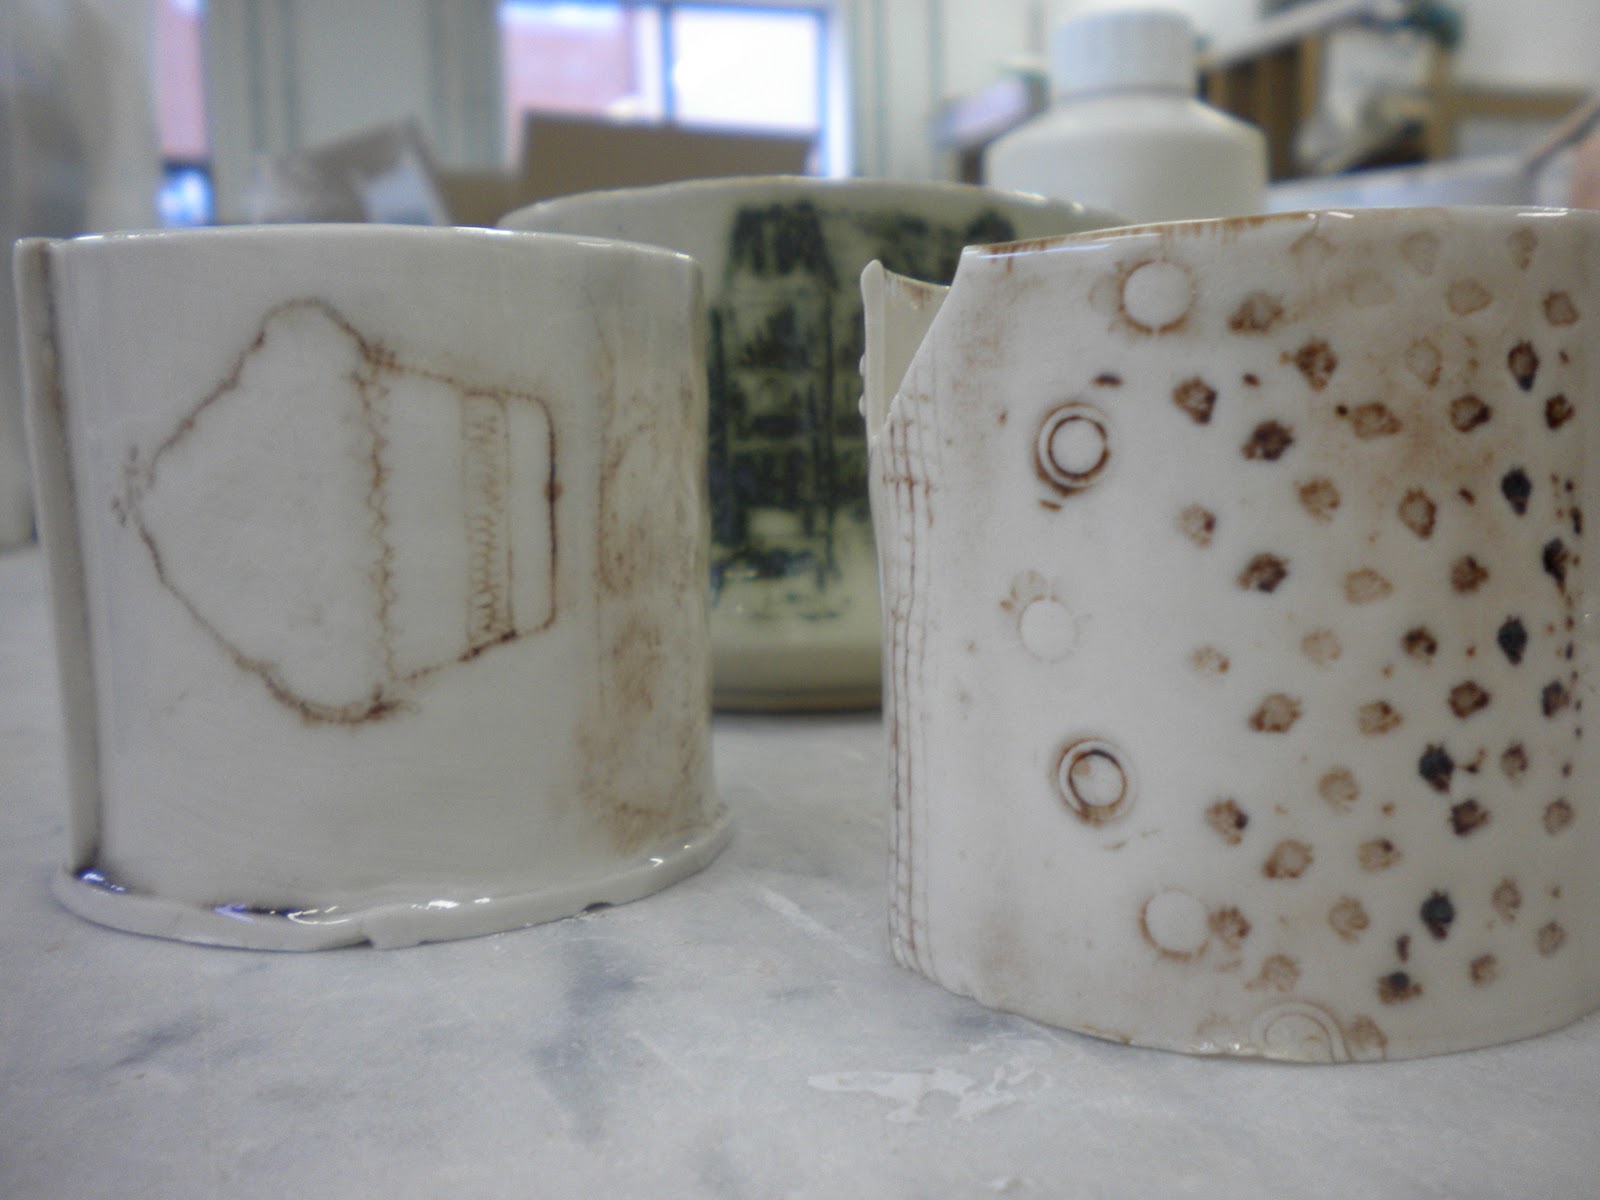
 Copper oxide close up - I love the green tints coming through on the creases in the porcelain; it's a really lovely effect which I could try to manipulate into some of my future designs
 Some mugs with cobalt carbonate, (really strong!) the red iron oxides & yellow ochre (not so strong, but close up has a slight tint of colour)
 Detail of the cobalt carbonate; I really love this range of depth of colour - the effect on the handle is lovely and soft and the speckled blue finish to the other areas of the mug are a nice delicate effect as well.
 The manganese oxide finished off varyingly; in some places it came out really quite strong and other areas, not at all. The colour itself is quite nice in the softer finished areas, but is more of a mucky dark brown finish in the darker finished areas.... not too sure on this oxide at all...
 Close up of the effects of latex; you can just about make out the lines where the latex was protecting the porcelain when I first used the oxides. Seeing the comparison of plain porcelain and the faint colour of the oxide is actually quite a lovely finish; I might try to incorporate this effect when designing my final pieces.
 Cobalt carbonate - really strong and striking finish... absolutely love this!
 Of the pieces that didn't have bases, I found there was quite a lot of distortion to the very circular shapes the pieces originally were before the second firing. Don warned me about this, so now I can see it's important to keep in mind how this could affect the professionalism of my pieces. (Unless I used it to my advantage and focused on it as a feature point of interest in my work...?)
 The copper oxides also came out as quite a success. The Paris etched piece came out a bit of a mess - but I've learnt my lesson about how much oxide to put on the ceramics and the effects if I go overboard = very dark black burnt finish!!!
 I do really like the tint of green across the whole piece though, it's almost like a smokey, hazy effect across the city landscape....
 Another favourite is my 'skinny tall' piece... Had a minor casualty when applying the oxide, hence the big chunk missing out of the side - again, learnt my lesson on how to handle my materials! I absolutely love the range of colour from the porcelain grey/white - green - black that flows over the whole piece.
 I particularly like the edges, they look like they've been burnt away...
 I'm really happy with the textures underneath the oxides as well, they're really brought out by a touch of colour and give a really delicate finish with some of the details such as the lace below.

All in all, a fairly good turn out, and some really important lessons picked up about the way the oxides work, how to use them across my work, how to apply them to my pieces and how you can't be too sure on how they'll turn out!
Next plan of action is designing the final (minimum of 4) pieces to make fire and glaze before next thursday....!!!!!?!?!!!

Sunday, 28 November 2010

Contacting Galleries

This project asks us to produce a body of work that aspires to a professional level; so I thought it best to find out what the next steps would be once I was confident that my work was of a high enough standard of quality.
I thought the best way to do this would be to see how local galleries select and accept work to be shown in their establishments
Info ......
     Leeds Craft Centre & Design Gallery:
http://www.craftcentreleeds.co.uk/howtoapproach.htm
http://www.craftcentreleeds.co.uk/howtoapproachapplied.htm

     The Heart Gallery, Hebden Bridge
http://www.heartgallery.co.uk/artistsrep.htm
(also requested a copy of their Sale and Return Agreement)

   The Montpellier Gallery, Warwickshire
http://www.montpelliergallery.com/

   Saltbox Gallery & Workshop, York
http://saltboxgallery.co.uk/


I have emailed questions to each gallery above, around the following themes: enquiring about their selection process, the standard of quality they look for, criteria for accepting - location/type of artist, accept students/graduates, type of work.
This will be really useful for future reference on how to go about progressing in my work and understanding how to promote it, submit it to galleries and knowing the process of how a gallery or craft centre works.

ps. Another useful link: http://www.icga.co.uk/ - The Independent Craft Galleries Association.

Friday, 26 November 2010

Developing Christmas Cards

Just a few more sketches coming to life, still working progress though - trying to find the right combination of colour/fabric styles and simplicity of designs so that I can knock them out quicker and with more ease, to ensure I can produce the cards for a good value.